You've felt it. One bad tap, three moves later you're staring at a card you needed locked under a King you can't move. The deal was beatable. You just buried the line. Klondike rarely loses for you — it waits for you to lose it for yourself.
Good news: most of those losses are fixable, and not with luck. With order. Play your moves in the right sequence and the same deal that crushed you last week falls apart.
Short answer: Win more Klondike by changing the order you play, not the cards. Bank aces and twos on sight, then prioritize moves that flip a face-down card, empty out the column with the most buried cards first, and only touch the stock when the board has nothing left to give. Promote higher cards to the foundation slowly — a card sitting on the tableau is a card still working for you.
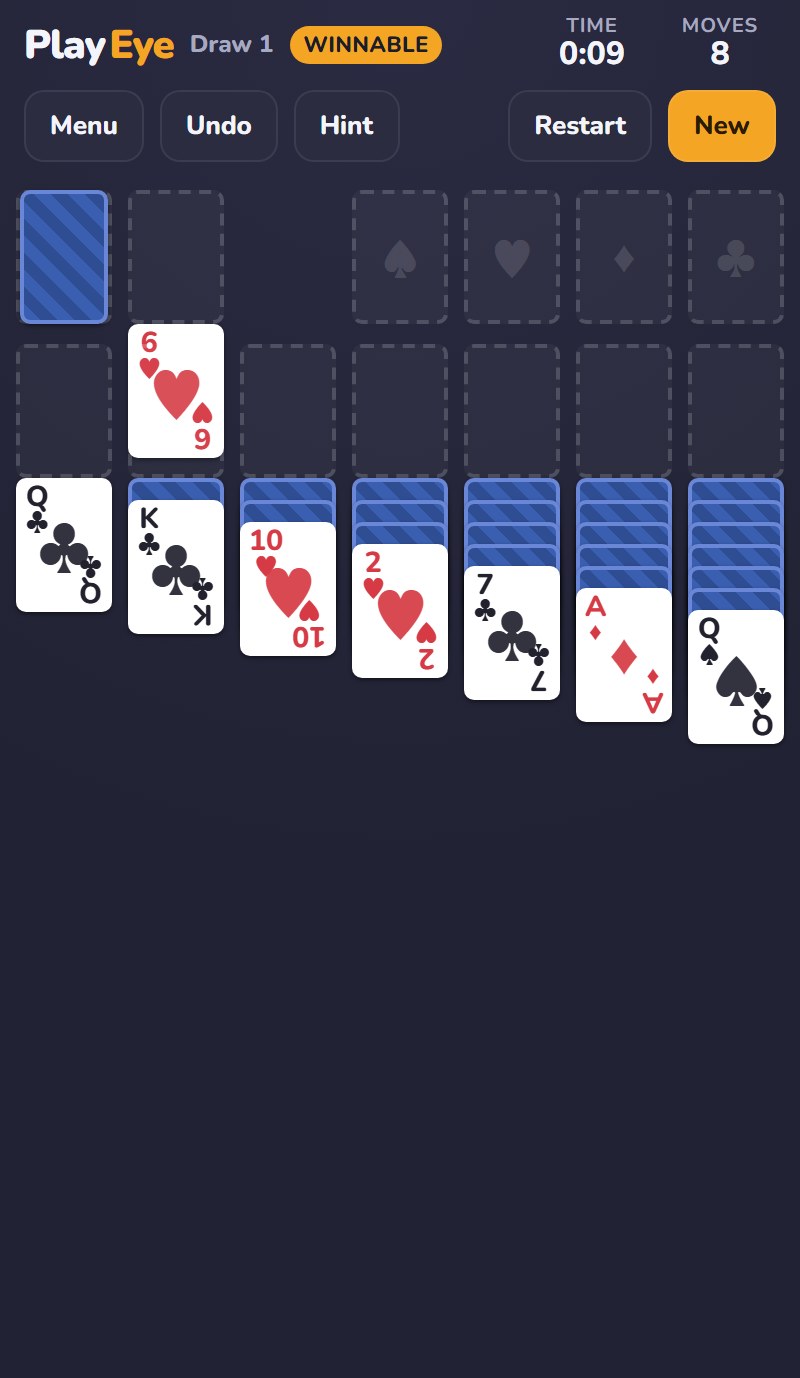
These aren't tips from another tips page. We built a Klondike Solitaire that screens its own deals with a full-information solver, and that solver cleared 1,067 deals (468 in Draw 1, 599 in Draw 3) before we shipped them. To do that fast, it tried moves in a strict priority order. The seven rules below are that order, translated into something you can do with your thumb.
How we know these work
Quick and honest, then we move on. We wrote a thoughtful Klondike solver — a program that sees every card, face-down ones included, and searches for any line that wins. Each deal got a 5-second budget, and on a timeout it records "not solvable" rather than guessing, so there are zero false positives. It kept the 1,067 deals it could prove.
The part that matters for you: the solver doesn't try moves at random. It scores them and plays the best one first. That ranked list is remarkably close to how a strong human should think. We're just handing it to you.
Rule 1: Bank aces and twos the instant you see them
In the solver, sending a card to the foundation is the single highest-priority move on the board. But there's a catch we'll get to in Rule 6 — and aces and twos are the one place that catch doesn't apply.
An ace or a two is always safe to play up. There's no scenario where you needed that ace sitting in the tableau to catch another card; nothing stacks below a two that you can't get elsewhere. The solver hard-codes this: ranks one and two are flagged safe automatically, every time, no second-guessing.
So when you turn an ace, play it. When the matching two appears, play it. No agonizing. This is the one promotion you never overthink.
Rule 2: Prefer moves that flip a face-down card
This is the rule that wins games, and most players underweight it. A face-down card is locked information — you can't plan around what you can't see. So any move that turns one over isn't just progress; it's a new card and a fresh set of options. In our solver, a tableau move that exposes a face-down card scores 80, double the 40 we give a shuffle that flips nothing.
Before any tableau move, ask: does this uncover a face-down card? If you're choosing between two legal moves and only one flips a hidden card, that's not a choice. Take the flip.
Rule 3: Dig out the column with the most face-down cards first
Not all buried cards are equal. The column hiding five face-down cards is five locked decisions; the one hiding a single card is nearly free. The fastest way to open a deal is to attack the deepest stacks — every card you clear from a tall column exposes one that often enables the next flip. The solver finds this by search: lines that crack open the heavy columns reach a win faster, so they surface first.
Rule of thumb: when two columns both offer a flip, take it from the taller face-down stack. You're not turning one card. You're starting an avalanche.
Rule 4: Exhaust the board before you touch the stock
In the solver's priority list, drawing from the stock is dead last — a score of 10, below every other move type. That's the discipline most players lack. The stock doesn't change while you work the tableau, so wring the board dry first: every foundation play, every flip, every useful tableau move you can make right now. Drawing early doesn't cost you a card, but it costs you focus — you start chasing the stock and cycle past cards you weren't ready to use.
Work the table first. Draw only when the board has genuinely stalled.
Rule 5: Empty columns are for Kings — and only Kings you've planned for
Our solver enforces a hard rule: the only card that may move onto an empty column is a King (an empty destination is accepted only at rank 13). That's Klondike — but how you use that empty column wins or throws away games. An empty column is the most powerful real estate on the board: a parking spot, a relay point, a way to dismantle a stack you couldn't otherwise touch. Spend it on the wrong King and you've handed away your best tool.
Two cautions the solver builds in. First, it refuses to move a whole King-led column onto an empty column — pure churn, nothing flipped. Don't do the human version either: sliding a full pile between empty spots while nothing turns over. Second, before you drop a King in, check what it frees and what it blocks. The right King opens a flip; the wrong one just clogs your best slot.
Rule 6: Don't rush the high cards to the foundation
This is the rule that separates players stuck at 30% from players who climb — and it's the one that feels wrong. Banking a card up looks like winning, but a card on the tableau is still doing a job: it catches the opposite-color card one rank below it. Promote a black six too early and you may strand the red five that needed somewhere to land.
Here's exactly how our solver decides. Aces and twos: always safe (Rule 1). Any higher card: safe to bank only when both opposite-color foundations have already climbed to at least one rank below it — don't send a six up until both opposite-color piles are at five or higher, because then no tableau card will ever need it as a landing spot. You don't have to do that math every move. Just keep the instinct: if a card might still catch something, leave it down. Bank too eagerly and you'll lose deals that were yours.
Rule 7: Count the stock cycle, especially in Draw 3
Klondike recycles the stock, but each pass is a fixed sequence — in Draw 3 the same cards land on top every cycle unless you remove one. A card you skip isn't gone, but it won't return to the top until the same point next time around. Our solver prunes any branch that cycles the whole stock without making a non-draw move — an infinite recycle is a dead loop. Your takeaway: if you've cycled the stock once and changed nothing on the board, cycling again won't help. Something on the tableau has to move first.
In Draw 3 specifically, removing one card slides the whole cadence — sometimes that's exactly how you reach a card that always landed in the middle of a triplet, never on top. Plan which card you break the cycle on.
Draw 1 vs Draw 3: which should you play?
Here's the surprise from our data. Measuring pure winnability under full information, the modes were nearly identical: 70.1% of Draw 1 deals were provably winnable versus 69.5% of Draw 3 — a gap of 0.6 points, basically a rounding error.
So why does Draw 3 feel so much harder? Winnable isn't the same as easy to win. In Draw 1 every stock card is reachable on demand; in Draw 3 the card you want is often buried mid-triplet, reachable only after you've planned the cycle (Rule 7). The line exists about as often — it's just harder to find.
Practical call: if you're learning these rules, play Draw 1. It removes the stock-counting puzzle so you can focus on board order, flips, and patient promotion. Once those are automatic, switch to Draw 3 — the odds barely move, but the skill ceiling jumps. For the full breakdown, see what percentage of solitaire games are winnable.
A quick word on the deal itself
One thing that should change how you feel when you lose: a real share of random Klondike deals — roughly one in five to one in three — are genuinely impossible, unwinnable even with every card face-up. No sequence of perfect moves was ever going to clear those. Stop blaming yourself for them.
That's why we screen our deals. Our Klondike Solitaire only serves the 1,067 boards the solver already beat, so every loss is a puzzle that had a solution — you just didn't spot the line this time. Curious how we built that pipeline? Here's the writeup: how we made every solitaire deal winnable.
FAQ
Is Klondike Solitaire always winnable?
No. A real chunk of random deals are impossible even under perfect, full-information play — our solver could prove only about 70% winnable in five seconds, and the true ceiling is likely around 82%, which still leaves roughly one in five or six deals unbeatable. A single loss tells you nothing about your skill; the deal may have been dead on arrival.
Should I always play aces to the foundation immediately?
Yes for aces and twos — always safe, no downside to banking them on sight. For higher cards, no: a card on the tableau still catches the opposite-color rank below it, so promoting too early can strand a card you need. Bank a higher card only once both opposite-color foundations are within one rank of it (Rule 6).
Is Draw 1 or Draw 3 easier to win?
They're almost equally winnable — 70.1% versus 69.5% in our testing. But Draw 1 is far easier in practice, because every stock card is reachable on demand. Draw 3 buries the card you want inside triplets and demands stock-cycle planning. Learn on Draw 1, then graduate to Draw 3.
What's the single biggest mistake that loses winnable games?
Promoting cards to the foundation too soon. It feels like progress, but it strips landing spots off the tableau and strands the cards that needed them. Second biggest: touching the stock before you've exhausted every move on the board.
What win rate should I expect?
Average players land around 33%, well below the ~70–82% ceiling. The gap is almost entirely board order and patience — the seven rules above. Apply them consistently and you'll climb past the average, especially on Draw 1.